Electric Bike Conversion Kit Installation Guide
Did you know you can turn your regular bike into a powerful electric ride that outputs up to 800w at peak performance?
Converting your bicycle into an electric one is simple and affordable. Hub motor setups are economical solutions and the easiest to install when you’re just starting out. The market has some exciting developments, like Kamingo’s lightweight conversion kit that has raised over £1,000,000 on Kickstarter. Modern e-bike conversion kits work efficiently, and some batteries can take you up to 55 miles on a single charge.
New builders who ride mostly on flat terrain will find electric bike motor kits are a great way to get started with e-bikes. Today’s best electric bike conversion kits blend impressive power with minimal weight – some motor and battery components weigh just 2.3 kg.
We’ll show you everything about installing an electric bike conversion kit. You’ll learn how to pick the right system and get your new e-bike running smoothly. Let’s start this exciting project together!
Choose the Right Electric Bike Conversion Kit
Your perfect electric bike conversion kit depends on understanding three basic types of E-bike Motors systems. Hub motors stand out as the most affordable and common choice that comes in front and rear wheel configurations. Front hub motors make installation easier, and rear hub motors give better traction, which helps a lot on hills or with cargo.
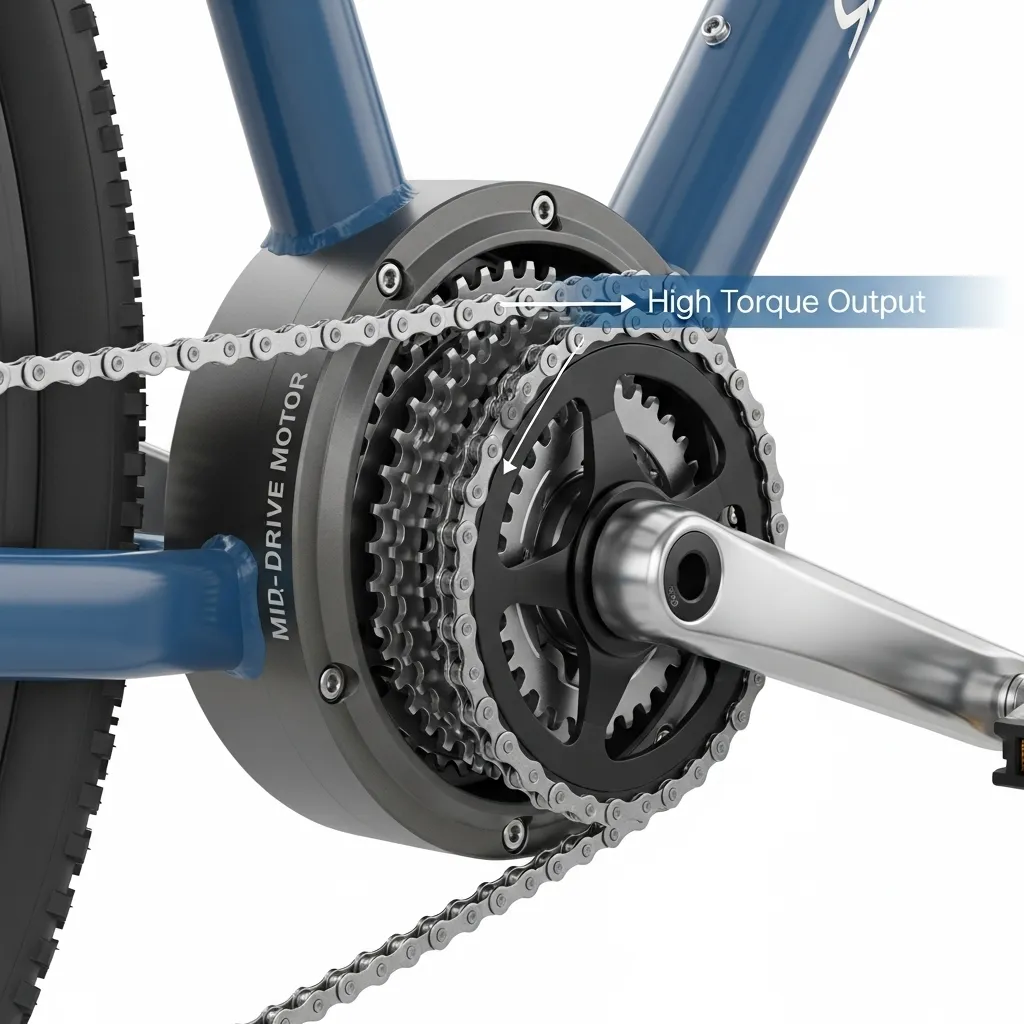
Mid-Drive Motors for Better Torque
Mid-drive motors located at the bike’s crankset deliver superior torque on steep terrain. These motors connect to your bike’s gears and streamline processes for hill climbing, but they need more maintenance because they wear down the drivetrain faster.
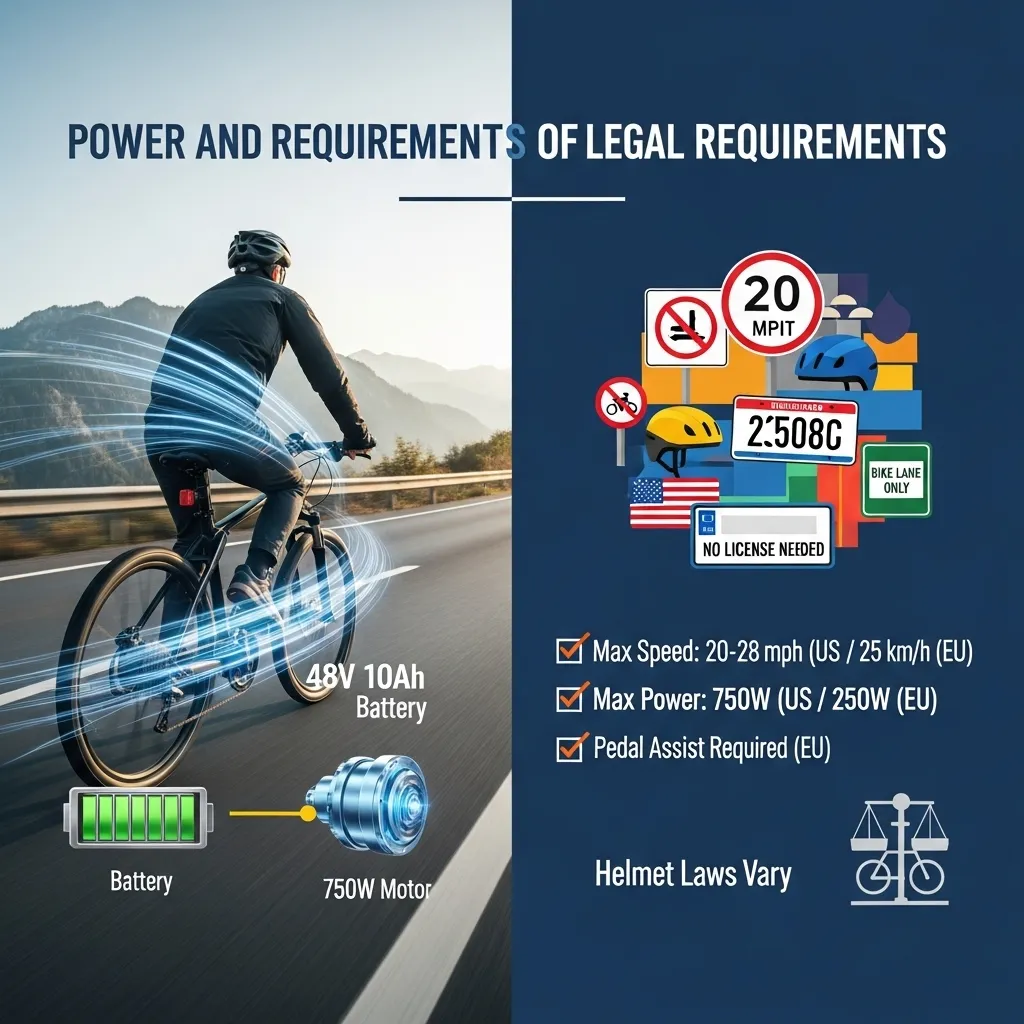
Power and Legal Requirements
A 250W motor works well on flat terrain and city streets, while hilly areas might need extra power. The UK and EU laws require e-bikes to have motors limited to 250W with speeds up to 25 km/h (15.5 mph). US rules are more lenient and usually allow motors up to 750W.

Battery Range and Weight
Your battery’s capacity determines how far you can ride. The conversion kits’ range varies from 15-20 miles with 2100g weight to 45-60 miles with 2600g weight.
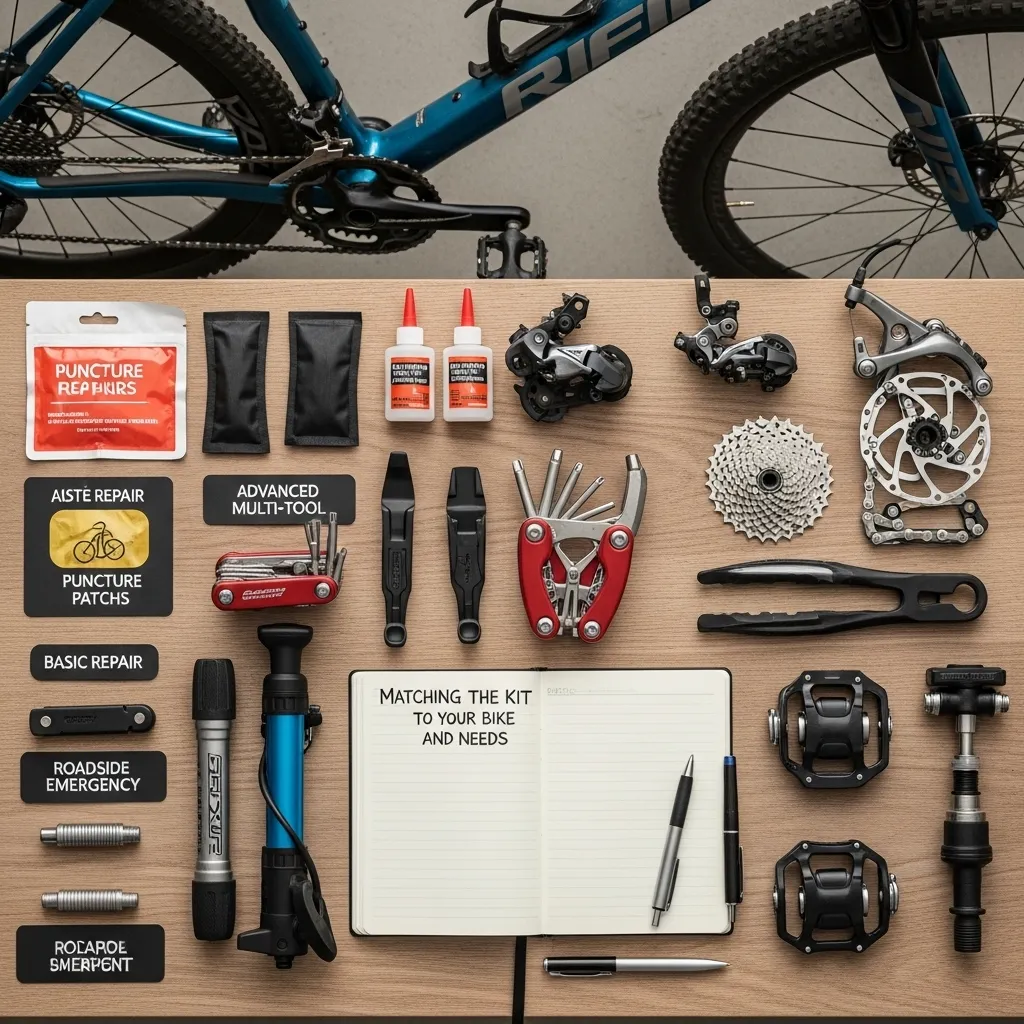
Matching the Kit to Your Bike and Needs
The right conversion kit choice depends on your terrain, riding style, and budget. Make sure the kit fits your bike’s wheel size, axle type, and brake system (disk or rim) before you buy. Local regulations should guide your kit selection to avoid any legal problems.
Prepare Your Bike for Installation
A successful e-bike conversion starts with good preparation. Clean your bike and check if it works properly. Your brakes and tires need extra attention since they’ll handle more stress after electrification. Electric Bike Test: My 6-Month Health Journey is very informative.
Gather the Necessary Tools
You’ll need these tools to get the work done:
Allen keys (hex wrenches), Adjustable or open-end wrench, set Flathead and Phillips, screwdrivers, Cable cutters, Tire levers, Zip ties to manage cables
Remove the Wheel Safely
Most e-bike kits need wheel removal, so loosen the brake cable and wheel’s quick-release lever first. When working with the rear wheel, press down the rear derailleur as you lift the wheel out.
Measure Dropout Width Accurately
Take time to measure your frame’s dropout width. Standard bikes usually have 100mm front or 135mm rear dropouts. Your hub motor axle might be slightly wider than the dropout slot. In this case, you may need to file the slot carefully until the axle fits.
Prepare a Safe Workspace
Pick a spacious, bright area to work in. Safety gear like gloves and glasses can protect you during installation. After conversion, check your wheel security often, loose parts can make rides dangerous.
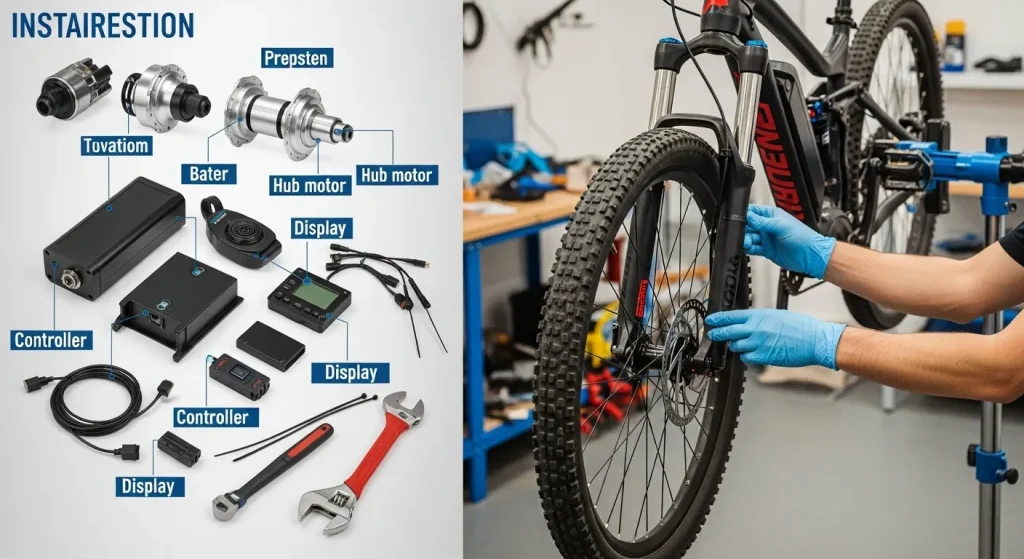
Install the Electric Bike Motor Kit Step-by-Step
The installation of your electric bike motor kit starts after you prepare your bike.Take off the wheel you plan to replace and move the tire, tube, and freewheel/cassette to your new motor wheel. The hub motor installation requires inserting the motor axle into the dropouts and securing it with washers and axle nuts. Note that a torque arm must be installed to prevent the motor from spinning in your dropouts.

Mount the Battery Securely
Your battery mounts to the frame using downtube water bottle mounts or a rear rack. Dual-battery configurations need matching voltage and parallel wiring to increase range.
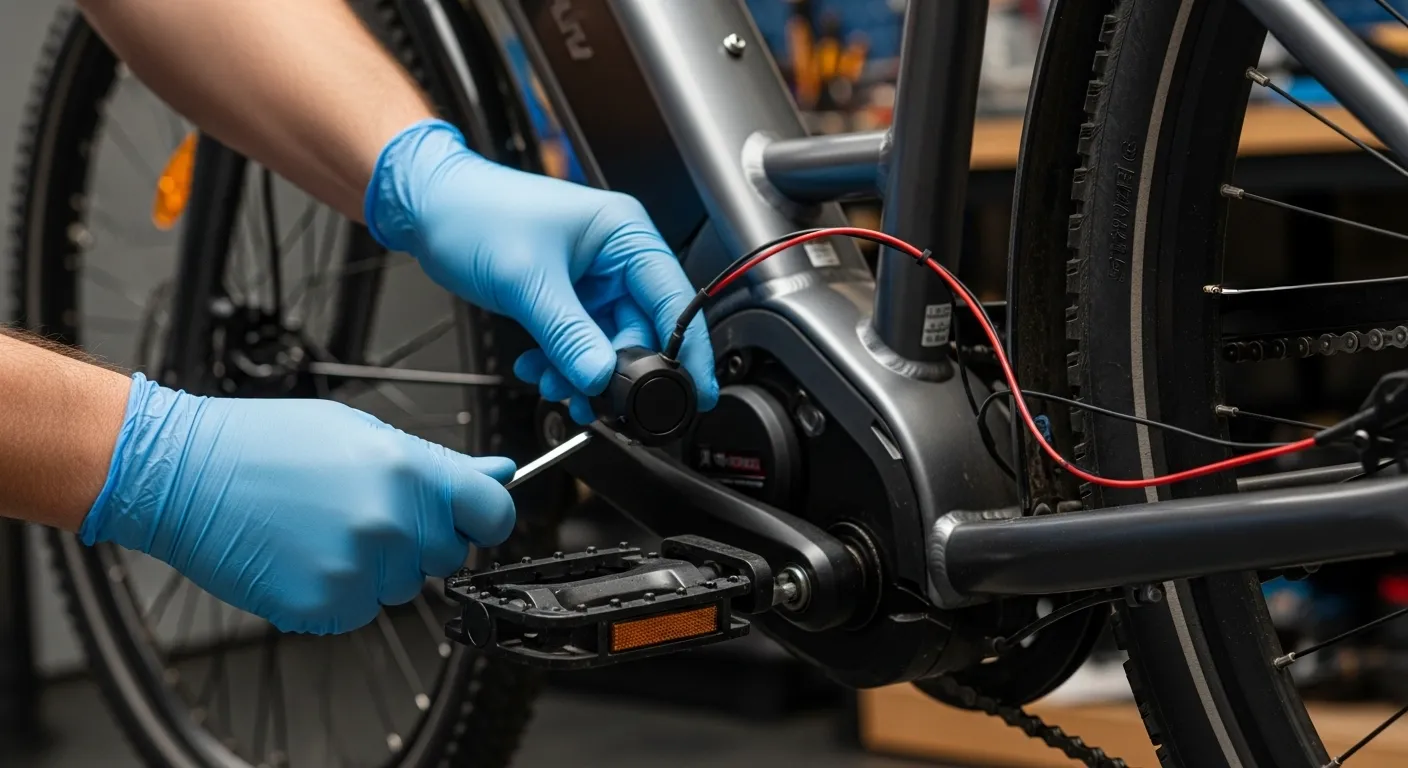
Install the Pedal Assist Sensor
The cadence sensor goes near the crankset to detect your pedaling motion and make pedal-assist features work. Alternative kits use torque sensors that measure pedaling force to create a more natural riding experience.
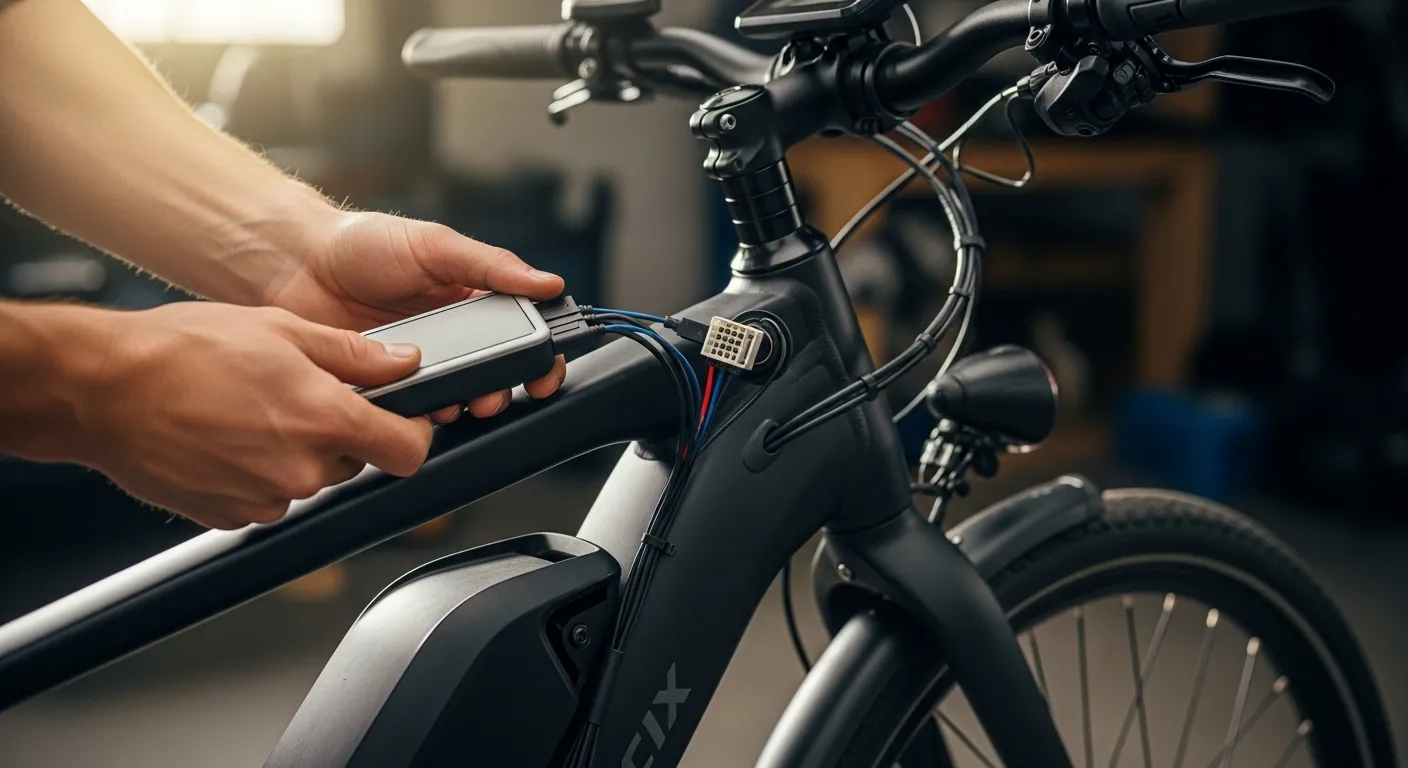
Position and Connect the Controller
The controller needs a protected spot, either under the seat or next to the battery. Your kit’s instructions will guide you to connect all wiring properly:
Motor phase wires (typically three colored wires) connect to matching controller outputs Battery power wires connect with correct polarity Sensor, throttle, and brake cut-off wires are properly connected.
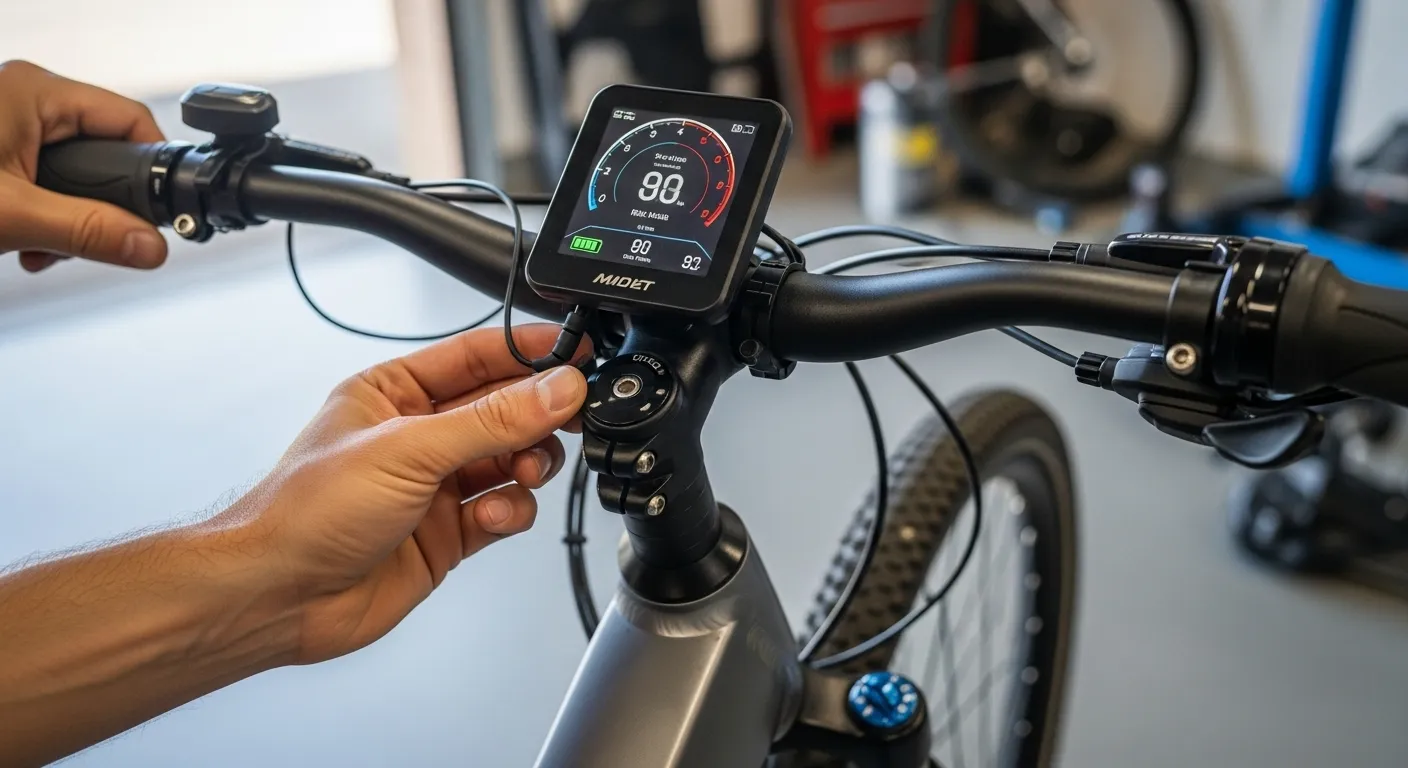
Mount the Display and Test the System
The final step involves mounting the display on your handlebars and testing all functions before taking your first ride.
Conclusion
Converting your regular bicycle into an electric bike is an exciting, budget-friendly way to improve your ride. This guide covers everything, from choosing the right kit to completing the installation. Test all parts before riding and perform regular maintenance on brakes, tires, and electrical connections.
Your converted e-bike offers freedom to ride farther, climb hills easily, and enjoy comfort without fatigue. You can customize your setup, making it better than buying a pre-built model. you can read our comparison guide about How to Safely Clean Your Electric Bike also.
Though installation may seem tough, this guide helps you avoid mistakes and keep your bike’s character intact. As batteries and motors improve, e-biking will only get better. Enjoy your electrified ride, the future